


147
29
船到桥头自然直
2024-03-31 23:04:12
0点赞
2收藏
0评论
上篇不是说了docker需要在有nest container权限的lxc容器里才能启动docker容器吗,但是我不是没写怎么干吗,这篇就写。
不过先等我先水一下。system container用起来基本和正常的linux os一样。我成功启动的第一个docker容器当然是portainer啦,后面所有的操作和正常使用docker没有区别。当然jellyfin也是装在docker里的,因为我懒。
没错,这个profile就是分配权限的方法,原原本本的复制粘贴就行了。
incus profile copy default nested
incus profile edit nested
config:
security.nesting: true
security.syscalls.intercept.mknod: true
security.syscalls.intercept.setxattr: true
description: Nested container
devices: {}
name: nested
docker所在的lxc容器就应该开机自动启动,原原本本的复制粘贴就行了。
incus profile copy default autostart
incus profile edit autostart
config:
boot.autostart: true
description: auto start and shutdown container when host reboot
devices: {}
name: autostart
当然,想要硬解就必需要GPU。假设在容器的用户id是1000,但是没人可以阻止你用root id,难受的不是这时候。profile 原原本本的复制粘贴就行了。
incus profile copy default hwac
incus profile edit hwac
config: {}
description: Hardware acceleration
devices:
mygpu:
type: gpu
gid: '1000'
uid: '1000'
name: hwac
好了,现在建个叫docker的lxc容器。
incus launch tuna:debian/12 docker -p default -p ovs -p hwac -p autostart -p nested
我们没有在容lxc器里装ssh,要控制容器就要进去。
incus exec docker bash
这个容器基本什么都没有,所以要换源,安装docker,安装解码转码的驱动。
mv /etc/apt/sources.list /etc/apt/sources.list.old
echo -e "deb http://mirrors.ustc.edu.cn/debian/ bookworm main contrib non-free non-free-firmwarendeb http://mirrors.ustc.edu.cn/debian/ bookworm-updates main contrib non-free non-free-firmwarendeb http://mirrors.ustc.edu.cn/debian-security/ bookworm-security main contrib non-free non-free-firmware" > /etc/apt/sources.list
apt update
apt full-upgrade -y
为了防止isp妨碍更新,需要安装下面的东西。
apt install apt-transport-https ca-certificates -y
sed -i 's/http/https/g' /etc/apt/sources.list
apt update
然后安装驱动。等等,这驱动不是在宿主机上装过了吗?没错,因为我不知道驱动到底是用容器的还是宿主机的,干脆全装了。
apt install intel-media-va-driver-non-free
然后更新下timezone。各位的电脑应该在国内吧,所以时区选Asia/Shanghai。啥,你在其它时区,那你自己找。
dpkg-reconfigure tzdata
然后安装docker吧。
for pkg in docker.io docker-doc docker-compose podman-docker containerd runc; do apt remove $pkg; done
apt install curl gnupg -y
install -m 0755 -d /etc/apt/keyrings
curl -fsSL https://download.docker.com/linux/debian/gpg | gpg --dearmor -o /etc/apt/keyrings/docker.gpg
chmod a+r /etc/apt/keyrings/docker.gpg
echo
"deb [arch="$(dpkg --print-architecture)" signed-by=/etc/apt/keyrings/docker.gpg] https://download.docker.com/linux/debian
"$(. /etc/os-release && echo "$VERSION_CODENAME")" stable" |
tee /etc/apt/sources.list.d/docker.list > /dev/null
apt update
apt install docker-ce docker-ce-cli containerd.io docker-buildx-plugin docker-compose-plugin -y
好了,是不是很简单。为了方便管理,装下openssh-server。
apt install openssh-server -y
当然不能用root登录ssh啦,来新建个用户,假设叫lxc。反正docker daemon用root权限,这用户不需要其它特殊权限。
useradd -m -G docker -s /bin/bash -u 1000 lxc
然后给lxc设置密码。
passwd lxc
现在安装jellyfin。等等,是不是忘记了什么,没有任何视频,要jellyfin干嘛。
是的,我们可以把文件塞进容器里。这样就有视频了。 docker前真的没有/。
incus file push somevideo.mp4 docker/home/lxc/
慢着,已经载好的视频难道都要这样塞进去吗,这效率也太低了吧。
的确,我也是这么想的。所以我找到了一个方法,但是不是非常安全,需要map宿主机的用户id。我们要把宿主机的文件/文件夹/硬盘,挂载进去。
等等,前面不是说了unprivileged container不能挂载吗。
是,没错,这次要用这2个网站的内容来干,读了就会明白。理论上就和default里的root disk一样。
https://linuxcontainers.org/incus/docs/main/reference/devices_disk/
https://stgraber.org/2017/06/15/custom-user-mappings-in-lxd-containers/
没错,我又写了个profile,来方便使用。
这profile不能直接复制粘贴。首先我得和你们说raw.idmap的写法,例如uid 1100 1000,1100是宿主机的用户的uid,idmap给容器的uid为1000的用户,我相信你们一定已经去搜索linux id相关的了,当然直接idmap给容器root也行,1000改成1就行。然后device里,给容器新建个叫sda的disk。source当然是宿主机的用户的文件夹,当然可以直接加硬盘进去,自己看上面的网站。path当然是容器里的用户的文件夹,记得这文件夹的第一上级母文件夹一定得先存在,例如挂载进/mnt/some/place/,/mnt/some/就必须先存在,懒的像我一样丢进/mnt就行了。
incus profile copy default mount
incus profile edit mount
config:
raw.idmap: |-
uid 1100 1000
gid 1100 1000
description: Mount host folder to container
devices:
sda:
type: disk
source: /宿主机/shareddisk/
path: /容器/shareddisk/
propagation: shared
name: mount
然后就加个profile,重启容器。
incus profile add docker mount
debian只需要给docker容器video权限就能解码转码了。
version: "2"
services:
jellyfin:
image: nyanmisaka/jellyfin:latest
container_name: jellyfin
volumes:
- /home/lxc/docker/jellyfin/config:/config
- /home/lxc/docker/jellyfin/cache:/cache
- /home/lxc/docker/jellyfin/log:/var/log/jellyfin
- /mnt/shareddisk/:/media/shareddisk
ports:
- 8096:8096
group_add:
- video
devices:
- /dev/dri/renderD128:/dev/dri/renderD128
- /dev/dri/card0:/dev/dri/card0
restart: unless-stopped
environment:
- TZ=Asia/Shanghai
- PUID=1000
- PGID=1000
- JELLYFIN_LOG_DIR=/var/log/jellyfin
偶尔清下 cache就好。
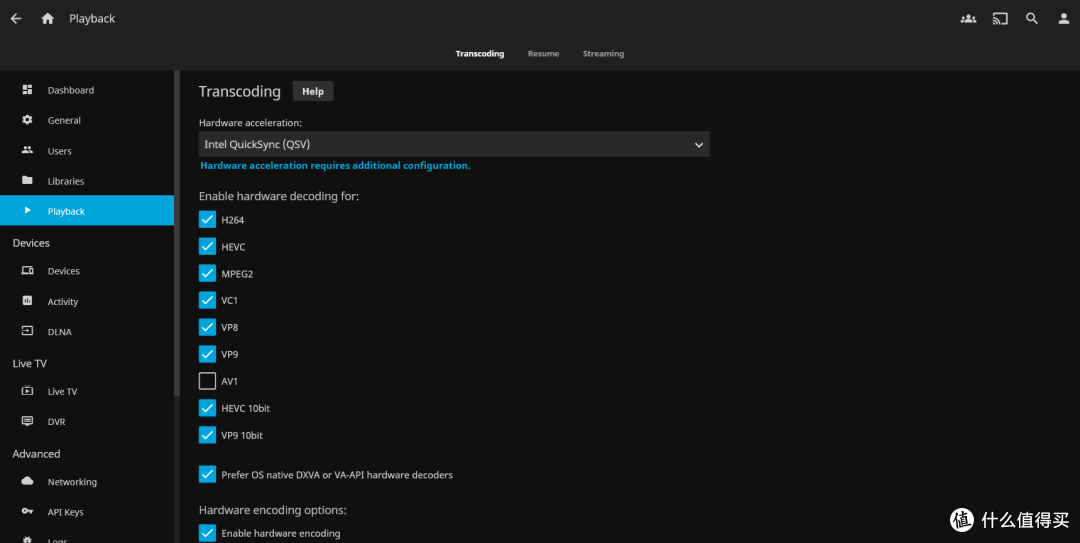
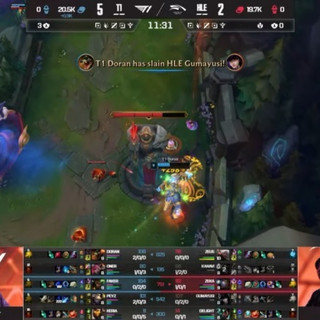
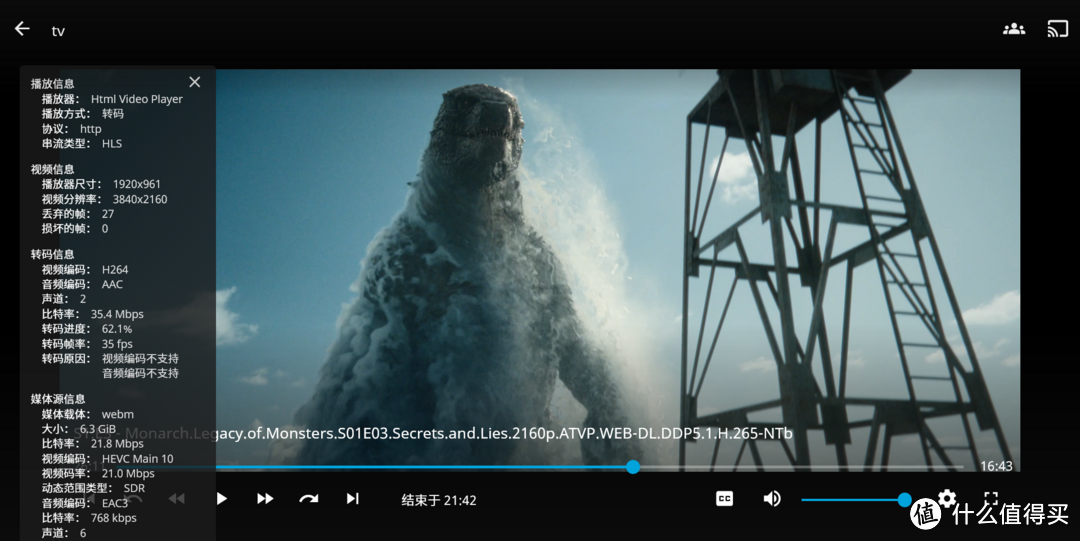
我笔记本不支持解码h265,无线网卡只支持433Ghz,但是只要不快进,就能流程播放4k h265转码后的视频。
作者声明本文无利益相关,欢迎值友理性交流,和谐讨论~